Water Heater Flooding the Garage? Emergency Shutoff Guide
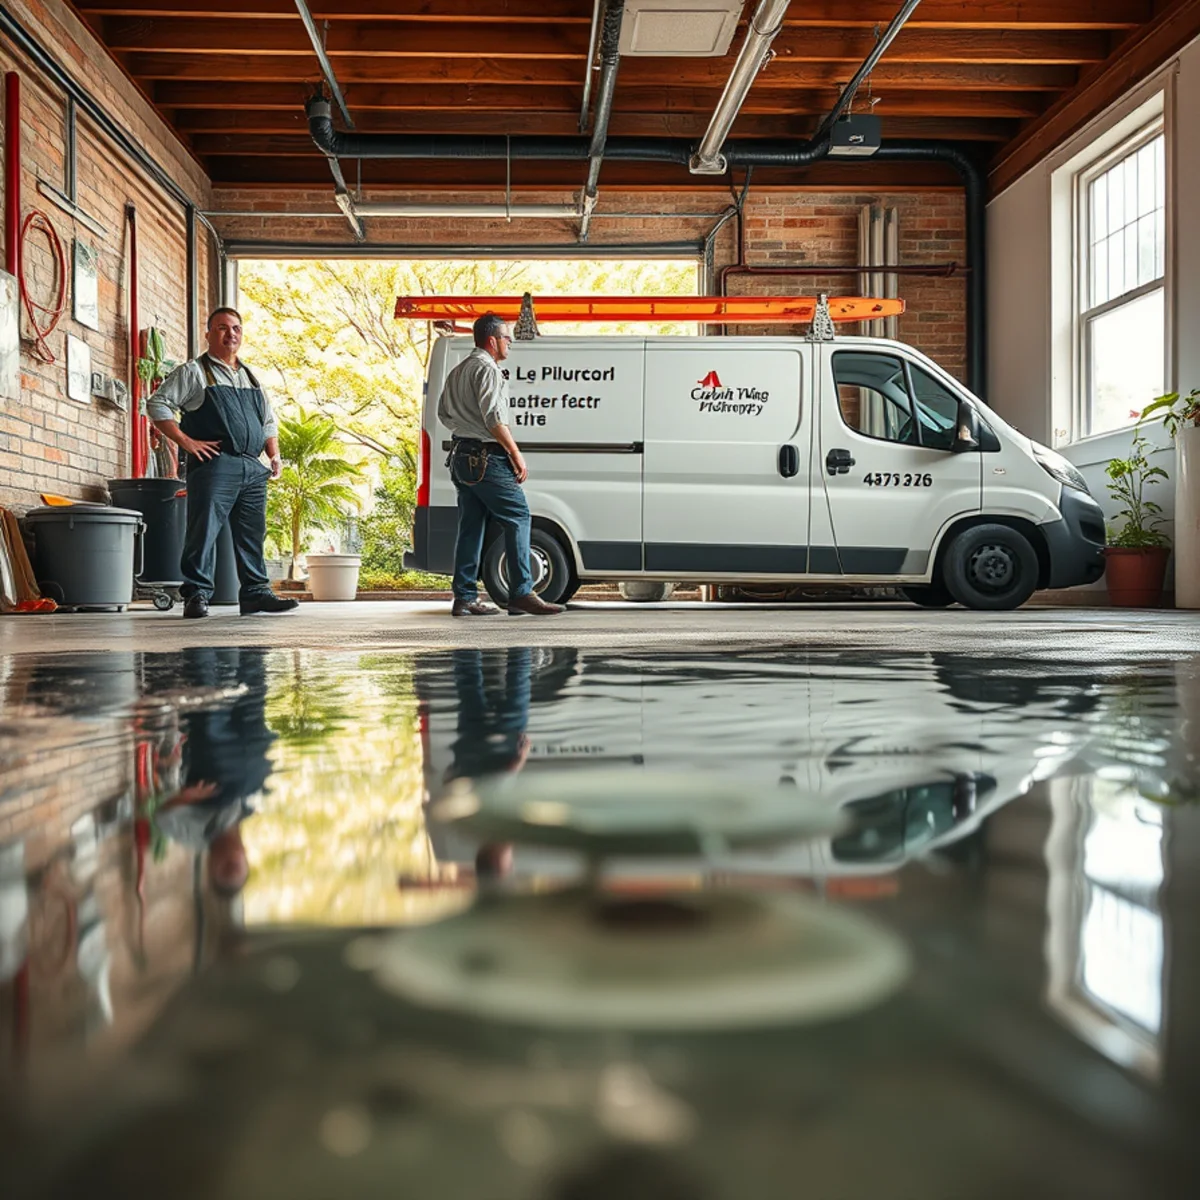
You walk into the garage and your shoes are suddenly wet. The water heater in the corner is leaking, maybe a slow puddle, maybe an active stream, and it's spreading toward stored boxes, the water softener, or your car. This is a fast-moving problem, but it's also one of the more straightforward plumbing emergencies to shut down quickly if you know the two valves that matter.
Here's the shutoff sequence in order, what's likely causing the leak, and how to tell whether you're looking at a repair or a replacement.
Step 1: Shut Off the Cold Water Supply to the Tank
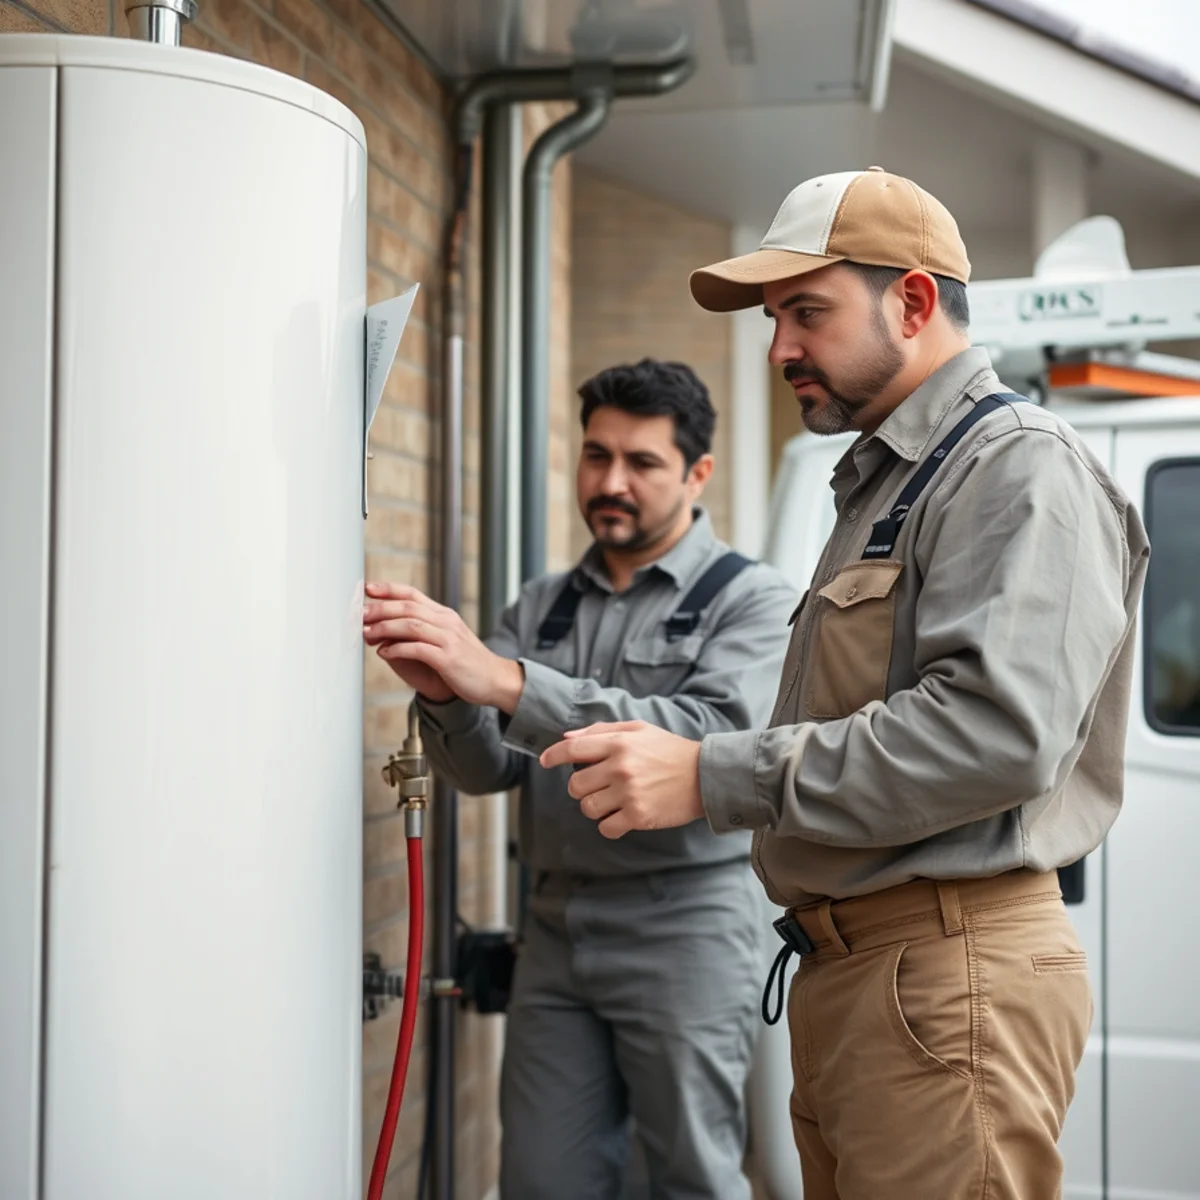
Every water heater has a dedicated shutoff valve on the cold water inlet line, usually a small valve directly above or beside the tank. Turn it clockwise until it stops. This cuts off the supply feeding the leak — it doesn't matter if the leak is from the tank itself, a fitting, or the pressure relief valve; stopping the incoming water is the first move regardless of the cause.
If you can't locate a dedicated valve or it's seized from age, shut off your home's main water valve instead. It's a bigger step, but it stops the leak while you sort out the rest.
Expert tip: Expert tip: Test your water heater's shutoff valve once a year, not just during an emergency. A valve that hasn't moved in a decade can seize shut, or worse, seize open right when you need it.
Step 2: Cut the Fuel Source — Gas or Electric
- Gas water heater: turn the gas control valve to "off," typically a knob near the bottom of the tank. If water has reached the burner compartment or gas controls, don't attempt to relight anything — call us instead.
- Electric water heater: go to the breaker panel and switch off the double-pole breaker dedicated to the water heater. Never reach toward an electrical panel through standing water.
- If the garage floor has standing water anywhere near outlets or the panel itself, treat it as an electrical hazard first and stay clear until power is confirmed off.
Step 3: Contain the Water and Protect What's Nearby
Once both the water and fuel source are off, the leak should slow or stop, but whatever has already escaped still needs managing. Move boxes, stored items, and anything on the floor away from the water immediately — garages tend to double as storage, and cardboard wicks water fast. A wet vac, or a push broom toward the garage's floor drain if it has one, limits how far the water spreads toward the house's interior door.
If water reached a shared wall with the house's interior, check the baseboard and drywall on the other side over the next day or two, even if it looked dry immediately after. Garage walls are rarely as sealed as they look, and a damp baseboard inside the house is a sign water tracked further than expected.
What's Actually Causing the Leak?
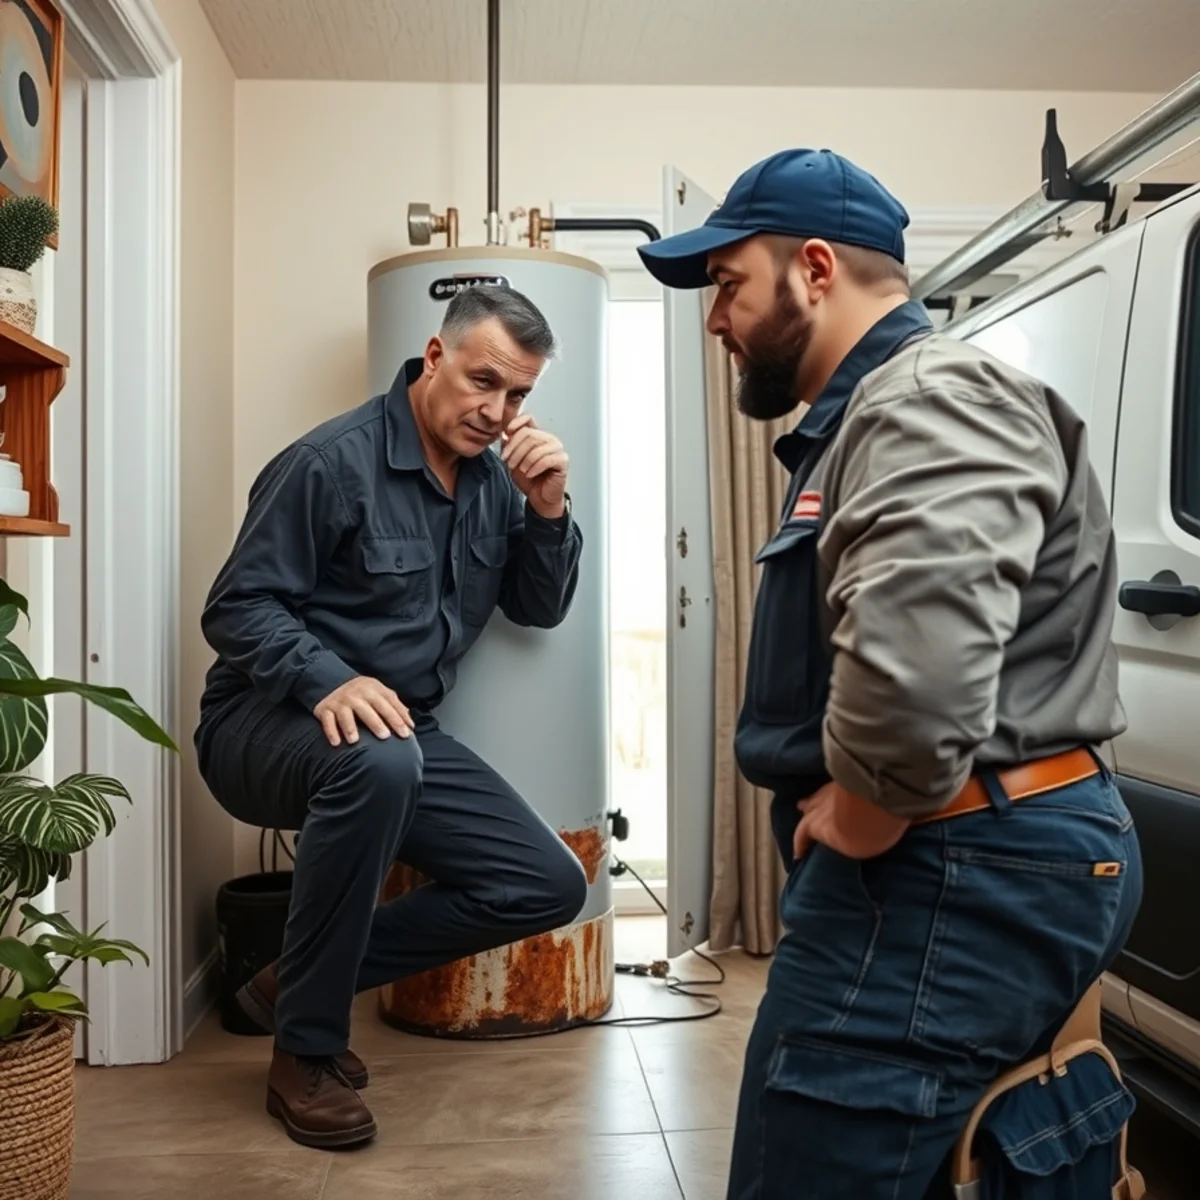
A handful of causes account for most garage water heater leaks. A failed pressure relief valve on top of the tank will drip or spray from its discharge pipe, often a fixable, inexpensive repair. A leak from the bottom of the tank itself usually means the tank has corroded through internally, which isn't repairable; the unit needs replacement. A loose fitting or supply line connection is the best-case scenario and often a quick fix. We can typically tell which one you're facing within a few minutes of looking at the unit.
What We Check to Tell a Fitting Leak From a Failed Tank
On site, we don't guess — we dry the area completely, then run water briefly while watching specific points to see exactly where it reappears.
- 1Dry every surface at the base and along visible fittings, then watch closely as the tank refills or heats.
- 2Check the temperature and pressure relief valve's discharge pipe first — it's the single most common source of a "tank leak" that isn't actually the tank.
- 3Inspect the cold inlet and hot outlet fittings at the top of the tank for a slow weep at the threads, which can run down the side of the tank and pool at the base, mimicking a bottom leak.
- 4Look for rust or mineral staining at a seam or the bottom of the tank itself — the sign of an internal failure that won't stop with a tightened fitting.
- 5Check the drain valve near the bottom, a low-cost part that fails more often than people expect and is simple to replace.
Expert tip: Expert tip: A dry paper towel run along each fitting and seam for a few seconds shows a fresh wet mark almost immediately if that spot is the source — a quick, low-tech first check before assuming the worst about the tank itself.
Repair or Replace? The Honest Math
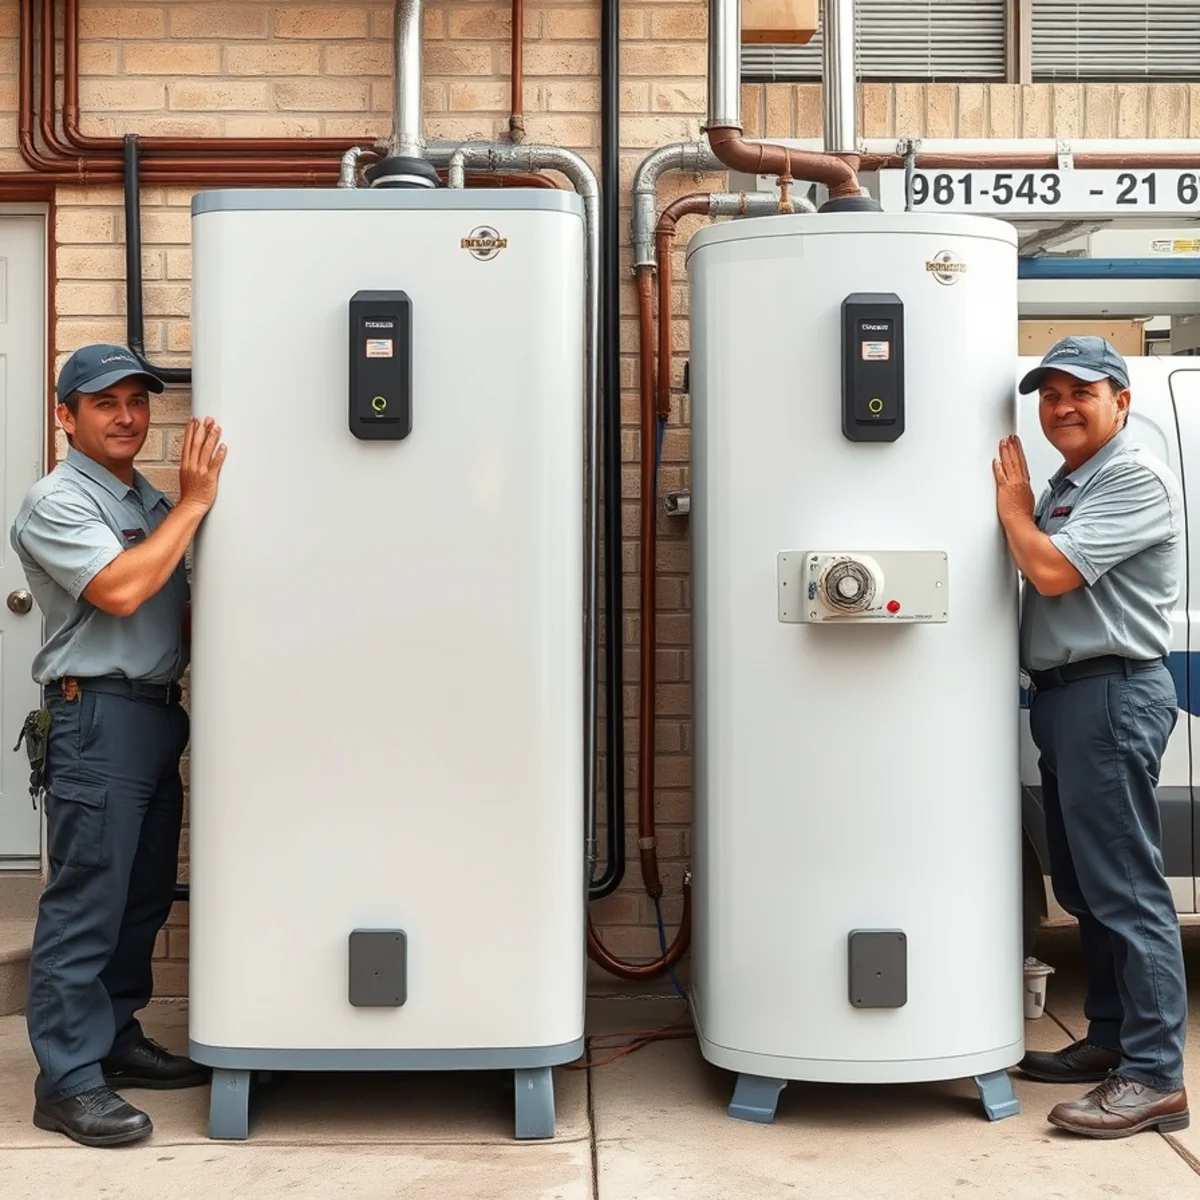
Water heaters run roughly 10 to 12 years before internal corrosion catches up with them, and Houston's moderately hard water tends to shorten that life by accelerating sediment buildup inside the tank. If your unit is leaking from the tank body itself, replacement is the only real option — a tank doesn't get patched. If it's leaking from a valve or fitting and the tank itself is sound and reasonably young, repair is usually the faster and cheaper path. Full replacement typically runs $1,200–$2,500 installed depending on the unit and venting requirements, and we'll walk you through both options honestly rather than defaulting to the bigger job.
If it's a repair, our water heater repair team stocks the fittings and relief valves that cause most of these leaks. If it's a replacement, it's also a natural point to ask about tankless water heater installation, which does away with the storage tank entirely — and with it, the corrosion failure mode this whole guide is about.
Why Garage Installations in Cedar Oaks Deserve Extra Attention
Many homes in Cedar Oaks and similar Bellaire neighborhoods have water heaters installed in the garage rather than a dedicated interior closet — practical for the floor plan, but it means a leak has a direct path toward stored belongings, a parked car, and sometimes the interior door threshold into the house itself. Our emergency water heater repair team responds to exactly this scenario often, and a simple secondary drain pan with a drain line routed outside, installed under the tank, catches this kind of slow leak before it ever reaches the floor. It's a small add during any replacement and worth asking about.
Mistakes That Make a Garage Water Heater Leak Worse
- Assuming a small puddle is condensation and giving it "a few more days to see." Condensation doesn't reappear in the same spot every day for a week; a real leak does.
- Storing boxes and paper goods directly on the garage floor near the water heater. Cardboard wicks water fast and hides a slow leak until it's already spread.
- Running an extension cord across a wet garage floor to keep a fridge or freezer powered. Standing water and electrical cords are a hazard independent of the water heater problem itself.
- Not testing the shutoff valve until the day you actually need it — a valve seized from a decade of never being touched can turn a two-minute shutoff into a call to cut the supply line.
- Delaying because "it's just the garage." A slow leak left unaddressed doesn't just risk stored belongings; on some floor plans it can reach the interior threshold and framing before anyone notices from inside the house.
Frequently Asked Questions
Which valve should I shut off first, water or gas?
Can I just keep using the water heater if it's only leaking a little?
Do I need a drain pan under my garage water heater?
How fast can you respond to a leaking water heater in Bellaire?
Is it condensation or an actual leak?
Written by the Plumber Bellaire TX team
Licensed Texas master plumbers based on Newcastle Street in Bellaire. We’ve spent years working the slab leaks, repipes, and sewer lines this article covers — right here in the City of Homes.
(614) 830-0578